Synopsis:
In this post we will deploy the next part of the Microsoft Purview datat sources and collections.
What will we deploy in this post?
1. Microsoft Purview: Data sources
You will need Data Source Admin role and one of the other Purview roles such as Data Reader or Data Share Contributor to register a source and manage it in the Microsoft Purview governance portal
Go to Microsoft Purview governance portal home page > Data Map > Sources > Register > Select a source type (I am grabbing Azure SQL database as my source).
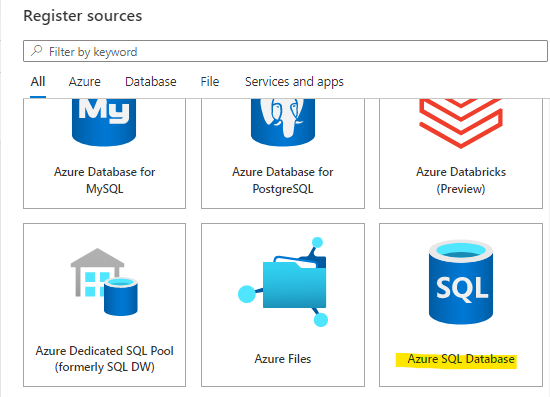
Microsoft Purview Data Map available data sources list https://learn.microsoft.com/en-us/azure/purview/microsoft-purview-connector-overview#microsoft-purview-data-map-available-data-sources
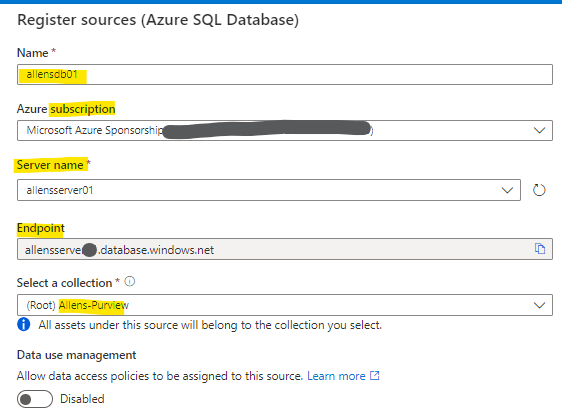
On the Register sources page:
Select a friendly name for your source > Azure subscription >
SQL server name > SQL database endpoint >
Microsoft Purview collection >
Select Register.
2. Microsoft Purview: Views
Verification is that my Azure SQL database can now be viewed in 2 formats:
Map View
Data Map > Sources > Map View
In Map view, you can see all of your sources and collections. In the following image you will see the root collection (Purview) at the top, called Allens-Purview. With one source linked to the root collection: An Azure SQL Database source.

Table view
In the table view, you can see a sortable list of sources. Hover over the source for options to edit, begin a new scan, or delete.

Manage collections
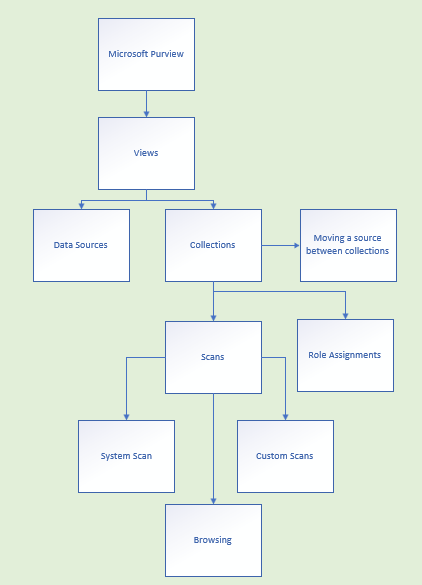
3. Microsoft Purview: Collections
To create a hierarchy of collections, assign higher-level collections as a parent to lower-level collections in a hierarchical format. You can collapse or expand collections by selecting the circle attached to the arrow between levels (as per diagram above).
Unparented sources are grouped in a dotted box in the map view with no arrows linking them to parents.
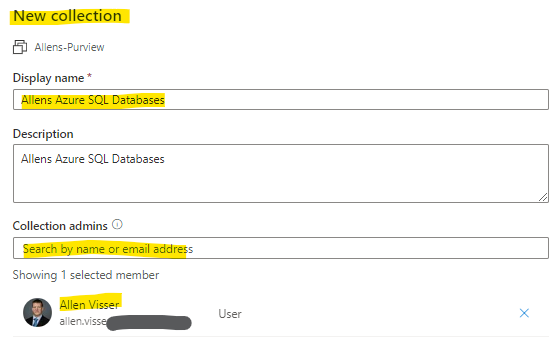
You can group your data sources into collections. To create a new collection go to
Go to Microsoft Purview governance portal home page > Data Map > Collections > Add a Collection > New Collection Page > add your details.
You can remove the Collection by clicking on Delete.
4. Microsoft Purview: Moving a source between collections
After you’ve registered your source, you can move it to another collection that you have access to.
When a source moves to a new collection, its scans move with it, but assets will not appear in the new collection until your next scan.
- Find your source in the data map > Source > select source > select the ellipsis (…) button and select Move > select your collection > Ok.
- Your collection has been moved. It can take up to an hour for results to be fully seen across your Microsoft Purview environment. Your scans will move with your resource, but assets will remain in their original collection until your next scan, then they’ll move to the new collection.
If any of the assets from your source were moved manually to a different collection before the source was migrated, the scan w
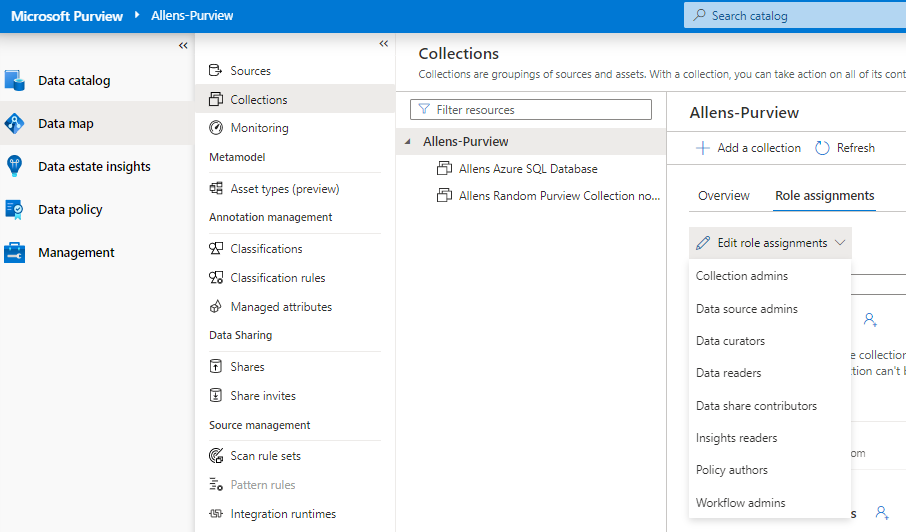
11. Microsoft Purview: Role Assignments
Go to Microsoft Purview governance portal home page > Data Map > Collections > Purview Account name > Role Assignments > Drop down list.
5. Microsoft Purview: System scan rule sets
System scan rule sets are Microsoft-defined scan rule sets that are automatically created for each Microsoft Purview catalog. Each system scan rule set is associated with a specific data source type. When you create a custom scan (step 11), you can associate it with a system scan rule set. Every time Microsoft makes an update to these system rule sets, you can update them in your catalog, and apply the update to all the associated scans.
To view the list of system scan rule sets, select Scan rule sets in the Management Center and choose the System tab.
Go to Microsoft Purview governance portal home page > Data Map > Scan Rule Sets > System
Each system scan rule set has a Name, Source type, and a Version. If you select the version number of a scan rule set in the Version column, you see the rules associated with the current version and the previous versions (if any).
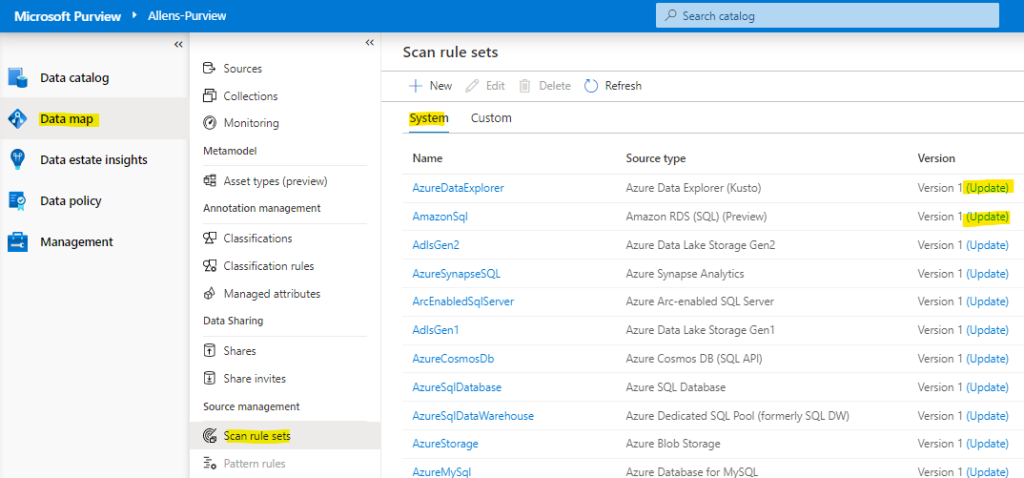
If an update is available for a system scan rule set, you can select Update in the Version column. In the system scan rule page, choose from a version from the Select a new version to update drop-down list. The page provides a list of system classification rules associated with the new version and current version.
6. Microsoft Purview: Create a custom scan rule set
In a Microsoft Purview catalog, you can create custom scan rule sets to enable you to quickly scan data sources in your organization.
A custom scan rule set is a container for grouping a set of scan rules together so that you can easily associate them with a scan. For example, you might create a default scan rule set for each of your data source types, and then use these scan rule sets by default for all scans within your company. You might also want users with the right permissions to create other scan rule sets with different configurations based on business need.
When you create a custom scan, you can associate it with a system scan rule set (step 12). Every time Microsoft makes an update to these system rule sets, you can update them in your catalog, and apply the update to all the associated scans.
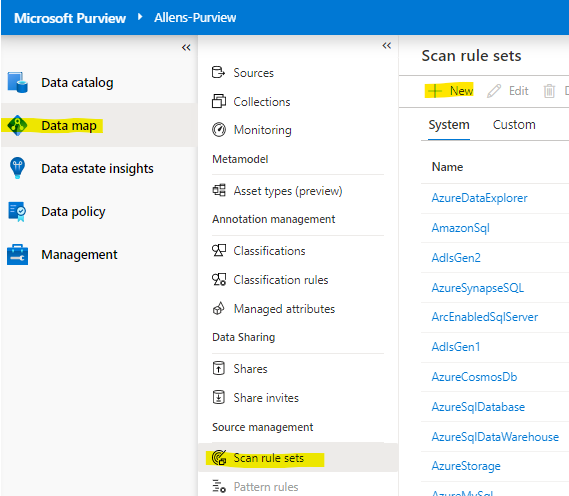
Go to the Microsoft Purview governance portal home page > Data Map > Scan rule sets > New >
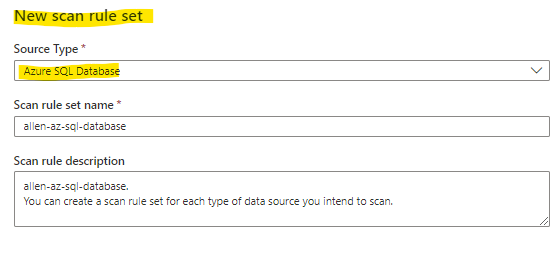
Select the data source from the Source Type drop-down list.
You can create a scan rule set for each type of data source you intend to scan.
Give your scan rule set a Unique name > optionally enter a Description > Continue
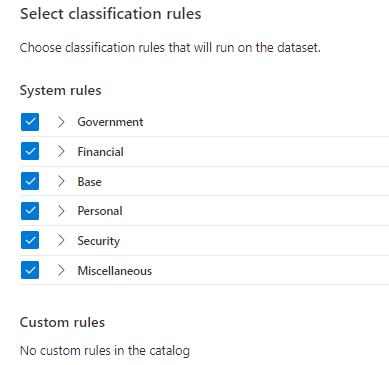
The Select classification rules page appears. This page displays the selected System rules and Custom rules, and the total number of classification rules selected. By default, all the System rules check boxes are selected
For the rules you want to include or exclude, you can select or clear the System rules classification rule check boxes globally by category > Continue
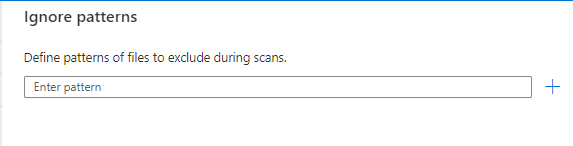
The Ignore patterns page appears and offers you the option of adding file patterns to exclude during scans. (Ive left this blank for now).
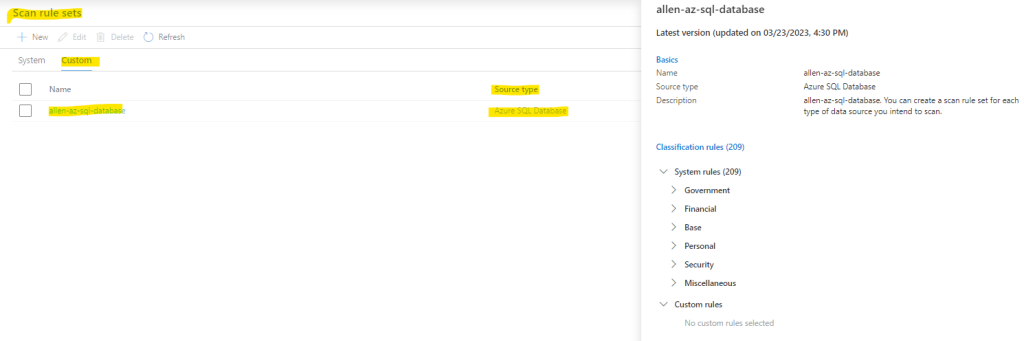
Verification that your custom Scan Rule Set has been created:
Scan Rule Sets > Custom Tab > find your custom rule set with source and created date.
7. Microsoft Purview: Browsing Collections / Assets
Browse asset page, select By collection > explore assets in each collection> details of an asset, select the asset name in the search result
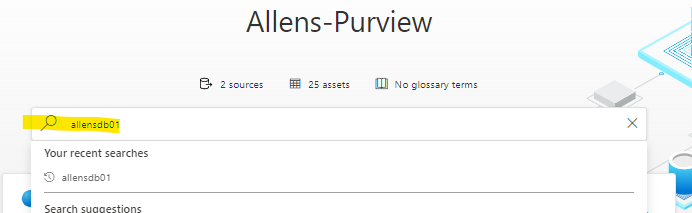
Go to Microsoft Purview > Governance Portal > use the main search bar to fast find any artifact you are looking for.
As I web site possessor I believe the content matter here is rattling magnificent , appreciate it for your efforts. You should keep it up forever! Good Luck.
You’ve been great to me. Thank you!