This recipe describes how to configure Azure Cognitve Service – Speech to Text service.
The first part of this recipe involves no end device coding and allows you to quickly and easily test the Speech Service locally in the Azure Portal.
Option 1 – Azure Portal testing of Speech Services
Option 1 – Azure Portal testing of Speech Services
Step 1 - Provision the Azure Cognitive Service
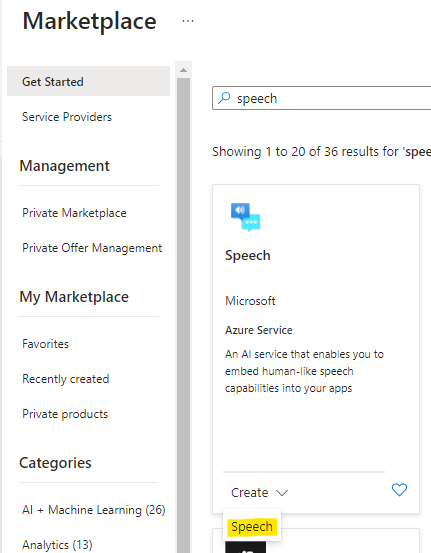
Go to Portal > Marketplace > search for “speech”
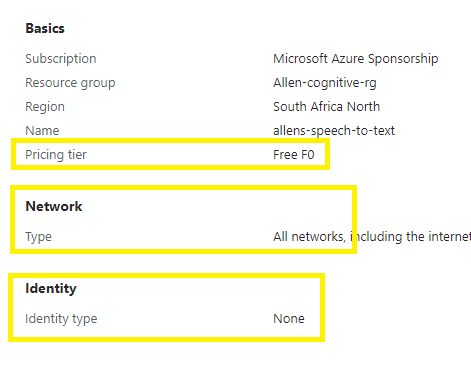
Basics tab:
Select the region closest to your users. Provide a unique and descriptive name and a pricing tier.
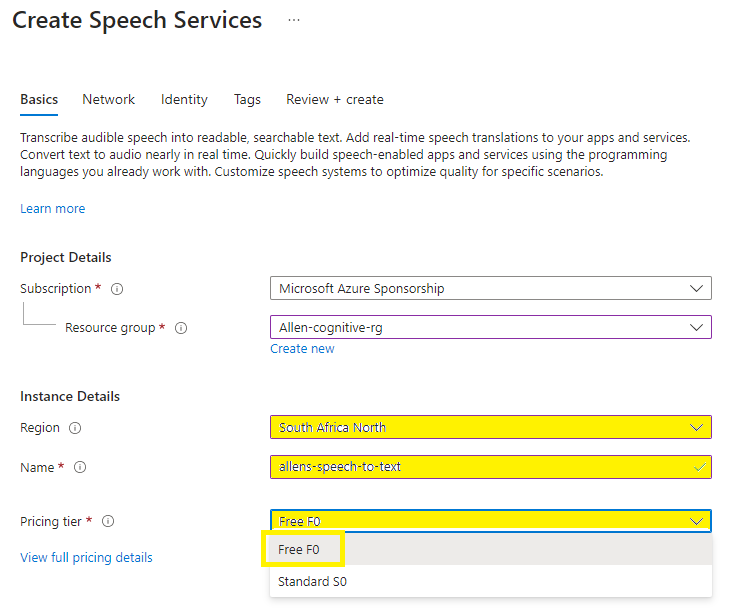
Network tab > All networks
Im not deploying SAMI for this demo > Create
Step 2 - Azure Cognitive Services Speech Studio
Login to the Azure Cognitive Services Speech Studio @ https://speech.microsoft.com/portal
Select the speech service resource (eg Speech-to-text)
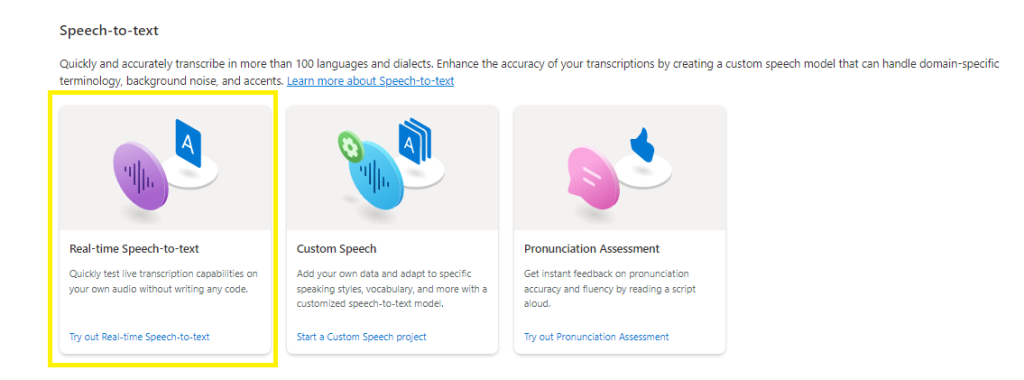
Select Real-time Speech-to-text.
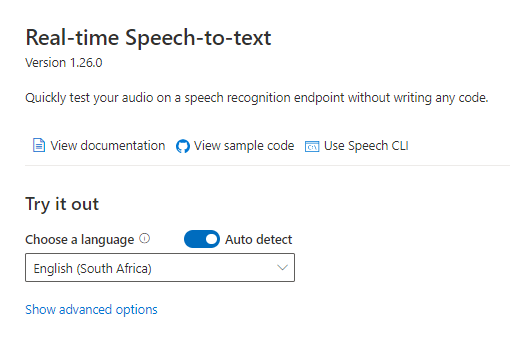
Quickly test your audio on a speech recognition endpoint without writing any code.
Select your preferred language or set to auto detect your region.
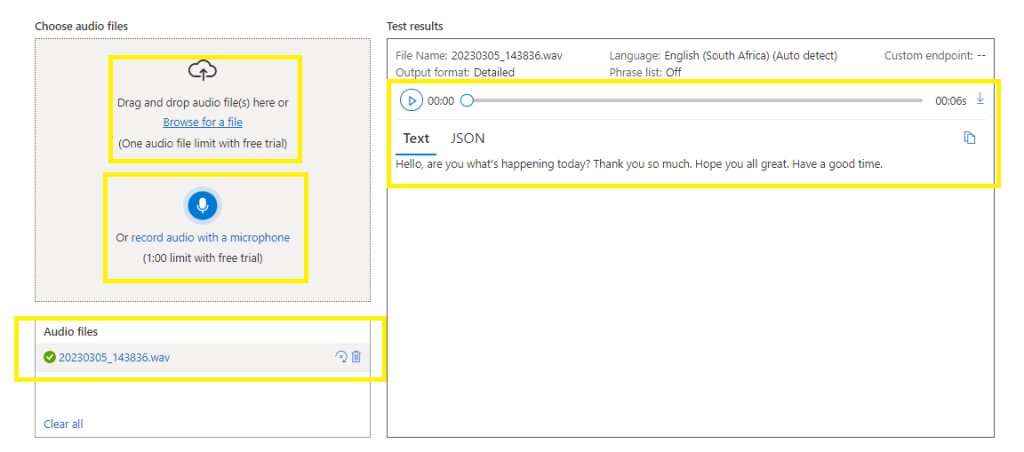
You can now choose your audio input source. You can import a file via Browse for a file or click on the microphone icon and start recording your very own audio. (I had some fun testing out the live audio option.
You can see the resultant text of my speech message in the right block and the .wav file saved below.
This is the entire testing of option 1 using the Azure Portal without any development required on your end device.
Thanks very nice blog!
Hi, Neat post. There’s a problem with your site in internet explorer, would check this… IE still is the market leader and a huge portion of people will miss your fantastic writing due to this problem.
I’m usually to running a blog and i really appreciate your content. The article has really peaks my interest. I am going to bookmark your site and keep checking for brand spanking new information.