This blog describes how to quickly deploy a single instance BIG-IQ VE in Azure using a script that has been modernized.
Deployment Steps:
Step 1 - Select your vm SKU
Select the vm sku you plan to insert into your script,
#Get the available vm sku sizes for your region (if required):
#Get the available vm sku sizes for your region (if required):
$location = 'uaenorth'
Get-AZVMSize -Location $location


#Im going to search for and select to use a B sku in my sandbox
Get-AZVMSize -Location $location | Where-Object {$_.Name -like '*Standard_B*'}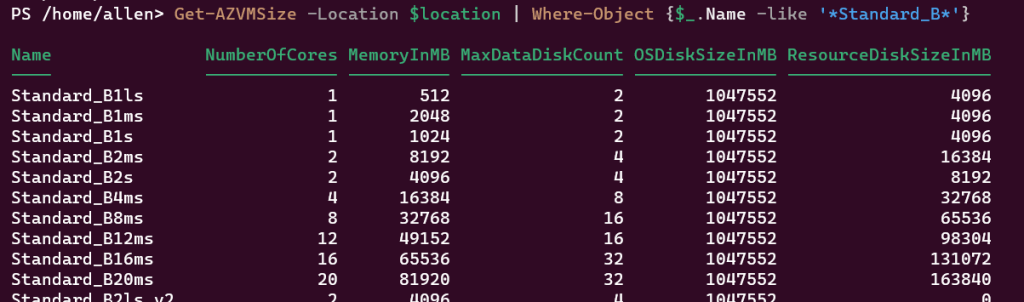
Step 2 - Create a new resource group container for the BIG-IQ stack resources
$ResourceGroupName = "allen-f5-big-iq-stack"
$location = "uaenorth"
New-AzResourceGroup `
-Name $ResourceGroupName `
-Location $location `
-Tag @{CustomerName="Customer01"; AutoShutdownSchedule="None";Product="F5 BIG IQ stack"; Environment="sandbox";}
Step 3 - Enablement of the Marketplace product
Register the F5 BIG-IP marketplace product on your target subscription (without this step your script will fail),
Go to Marketplace > search for F5 BIG-IQ
Click on the link to open the product,

Go to the Usage Information + Support tab >
Copy the Publisher ID, Product ID, Plan ID and paste into the script below and then execute,
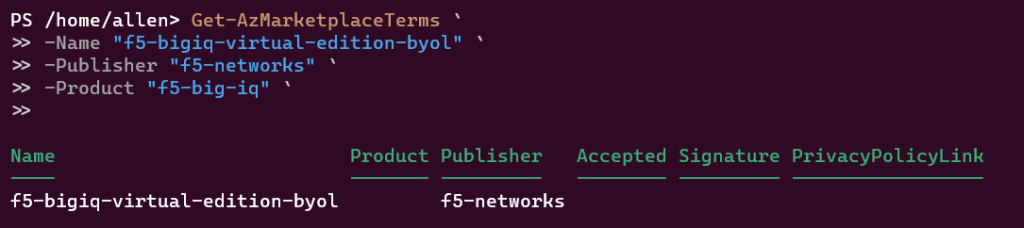
Get-AzMarketplaceTerms `
-Name "f5-bigiq-virtual-edition-byol" `
-Publisher "f5-networks" `
-Product "f5-big-iq" 
Verification:
The following output should appear:
Step 4 - Assemble and Run the PowerShell script that creates a BIG-IQ VE on Azure
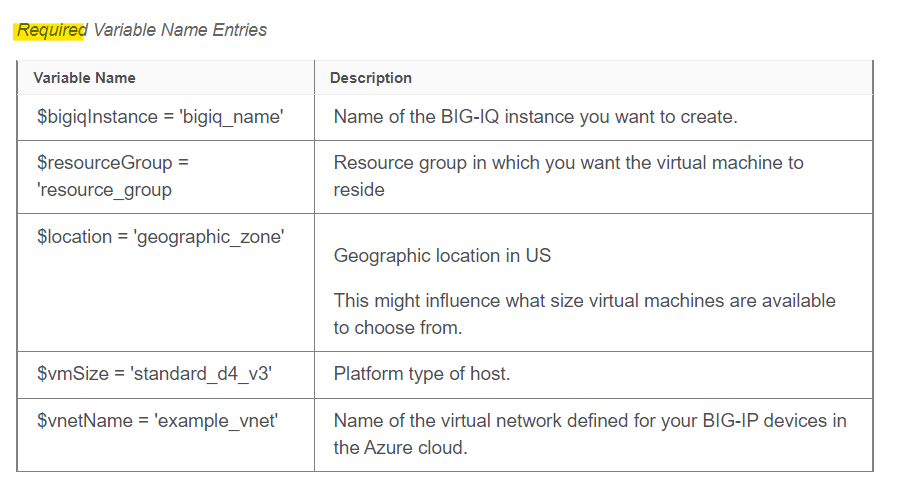
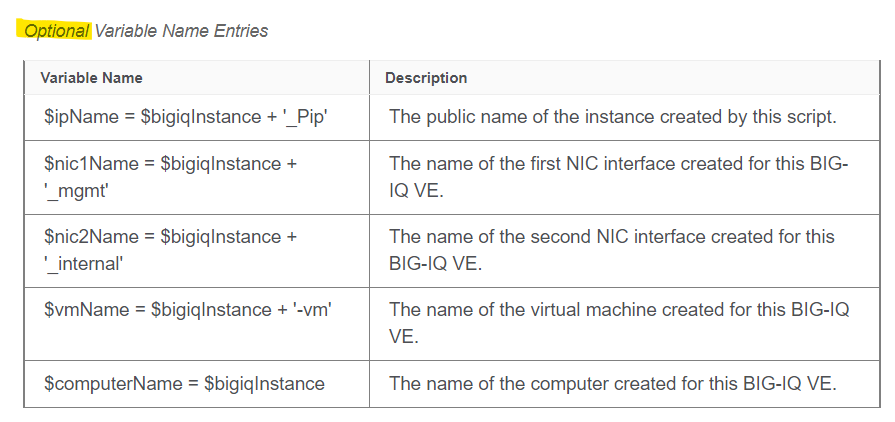
To customize your script, change the names of the variables as required to meet your needs.
Please find the full script here.
Step 5 - Deployment Verification
Once the stack script deployment has completed, you can verify the full list of resources that have been deployed into your dedicated resource group container via
$ResourceGroup2 = "allen-f5-big-iq-stack"
Get-AzResource -ResourceGroupName $ResourceGroup2 | Format-Table
Step 6 - Provision a Network Security Group
You will notice that the script has not deployed an NSG. You will need to create a network security group in the resource group in which you have deployed your BIG-IQ VE to be able to gain access.
The NSG must include INBOUND security rule for port 22 (for SSH access to your VE) and port 443 (for HTTPS access).
The powershell script below will provision our NSG:
#Step 1: Create a new NSG:
$ResourceGroupName = "allen-f5-big-iq-stack"
$location = "uaenorth"
$nsgname = 'BIG-IQ-NSG'

$Variables = @{
  'Name'              = $nsgname
  'ResourceGroupName' = $ResourceGroupName
  'Location'          = $location
}
$AzNSG = New-AzNetworkSecurityGroup @Variables


#Step 2: Create the NSG rules:

#deployment:
$AzNSG = Get-AzNetworkSecurityGroup `
-Name $nsgname `
-ResourceGroupName $ResourceGroupName `

$Variables1 = @{
'Name' = 'BIG-IQ-SSH'
'NetworkSecurityGroup' = $AzNSG
'Protocol' = 'TCP'
'Direction' = 'Inbound'
'Priority' = 200
'SourceAddressPrefix' = '*'
'SourcePortRange' = '*'
'DestinationAddressPrefix' = '*'
'DestinationPortRange' = 22
'Access' = 'Allow'
}
Add-AzNetworkSecurityRuleConfig @Variables1 | Set-AzNetworkSecurityGroup `

$Variables2 = @{
'Name' = 'BIG-IQ-HTTPS'
'NetworkSecurityGroup' = $AzNSG
'Protocol' = 'TCP'
'Direction' = 'Inbound'
'Priority' = 300
'SourceAddressPrefix' = '*'
'SourcePortRange' = '*'
'DestinationAddressPrefix' = '*'
'DestinationPortRange' = 443
'Access' = 'Allow'
}
Add-AzNetworkSecurityRuleConfig @Variables2 | Set-AzNetworkSecurityGroup
Now associate your NSG to the management interface subnet,
Step 7 - Login to your BIG-IQ Instance
Login via the public ip using ssh username@publicipaddy,
When prompted, type the first time access password that you specified in the PowerShell script,

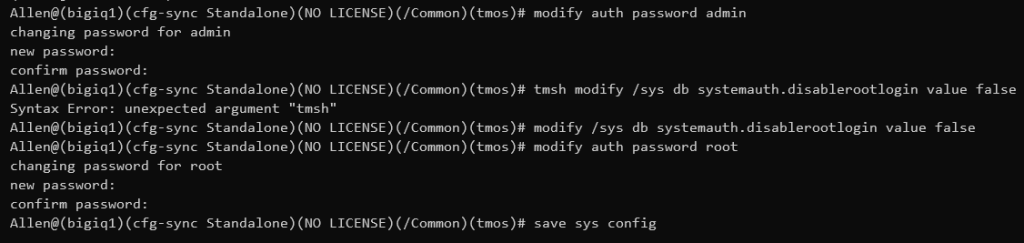
At the tmsh command prompt, type:
modify auth password admin
The terminal window displays the message: changing password for admin, and then prompts: > new password,

At the tmsh command prompt, type:
modify /sys db systemauth.disablerootlogin value false
If the terminal window does not display an error message, then root access is now enabled,

At the tmsh command prompt, type
modify auth password root
The terminal window displays the message: changing password for root, and then prompts: new password,
Type your new password and press Enter,
The terminal window displays the message: confirm password,
Re-type the new password and press Enter,
To ensure that the system retains the password changes, at the tmsh command prompt, type:
save sys config
press Enter,
The admin and root passwords are now changed.
Step 8 - License your BIG-IQ instance
Before you can use this new BIG-IQ you must license it.
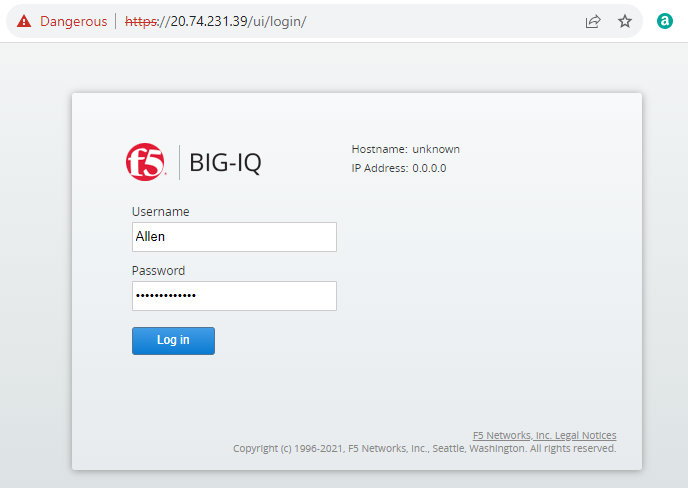
Login to the BIG-IQ console by going to https://publicipaddress
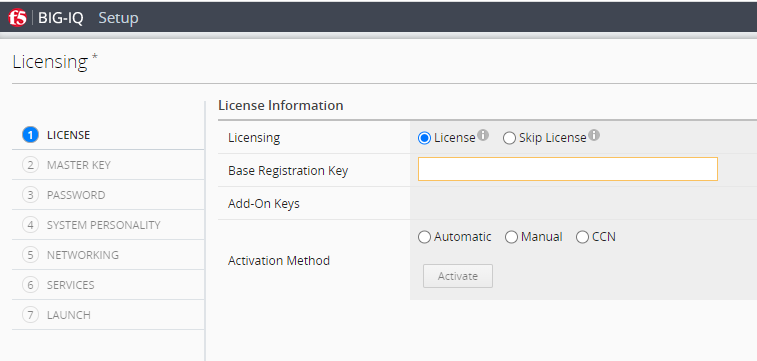
Adding your key
License tab: click on the license radio button,
In Base Registration Key > type or paste the BIG-IQ registration key and select the activation method,
If you are setting up a data collection device, paste any additional license key you have,
For Activation Method, select Automatic, click the Activate button, and then click the Next button,
If you are setting up this device for the first time, the Accept User Legal Agreement screen opens,
To accept the license agreement, click the Agree button, and then click the Next button,
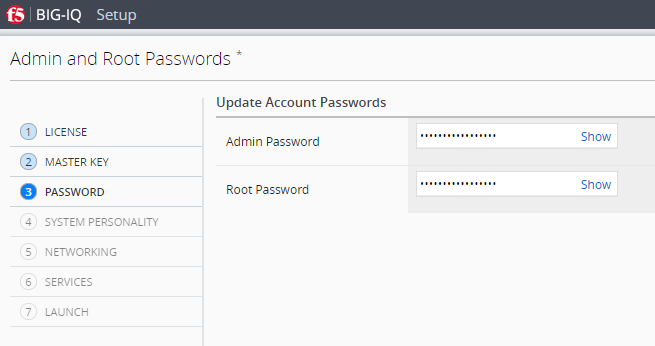
Type a Passphrase that satisfies the requirements specified on screen, and then type the same phrase for Confirm Passphrase > Next,

Select the System Personality option you’re licensed for,
You cannot undo this choice. Once you license a device as a BIG-IQ Management Console, you can’t change your mind and license it as a Data Collection Device,
Next

Networking screen:
In Hostname, type a fully-qualified domain name (FQDN) for BIG-IQ the system,
Type the Management Port IP Address and Management Port Route,
Specify what you want the BIG-IQ to use for the Discovery Address.
BIG-IQ advertises this address to other devices that want to communicate with it,
Next,

Services tab:
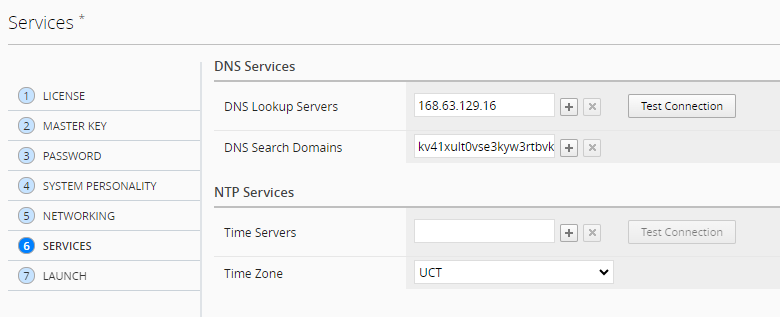
In the DNS Lookup Servers field, type the IP address of your DNS server,
Test Connection button to verify connectivity,
In the DNS Search Domains field, type the name of your search domain for local domain lookups to resolve local host names,
In the Time Servers field, type the IP addresses of your Network Time Protocol (NTP) server,
Click the Test Connection button to verify that BIG-IQ can reach the IP address,
From the Time Zone list, select your local time zone,
Next
Once you have verified the the details, you can select Launch button to continue,
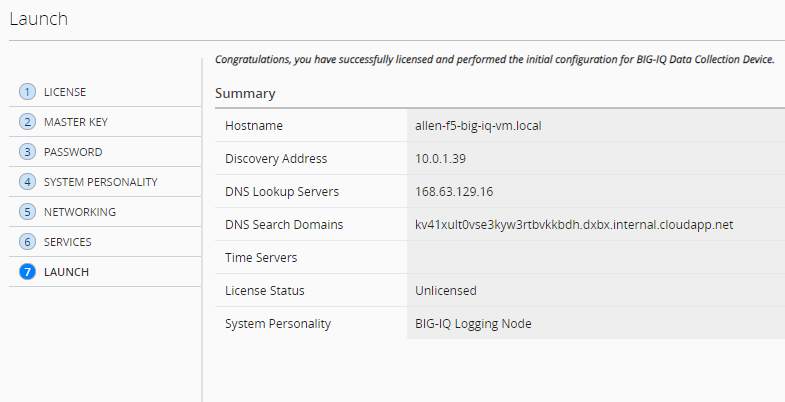
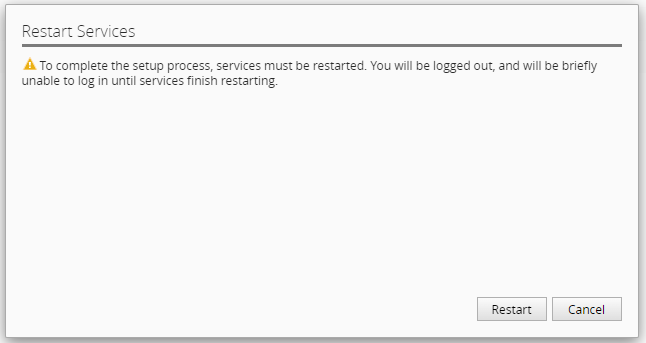
Select Restart when prompted,
My next blog will unpack the configuration and monitoring of the BIG-IP devices by the BIG-IQ instances.
Monitoring BIG-IP statistics in BIG-IQ
Hi, Neat post. There is a problem together with your web site in internet explorer, may check thisK IE still is the marketplace chief and a big part of other folks will miss your excellent writing because of this problem.
Excellent website. Plenty of useful info here. I am sending it to several pals ans also sharing in delicious. And certainly, thank you in your effort!
Your article helped me a lot, is there any more related content? Thanks!