Power Automate is a cloud-based automation and workflow platform. In this demonstration, Power Automate is a used to automate a users request sent to an approval group, to deploy Azure resources according to pre-defined ARM-templates.
This aligns with the FinOps practice to reduce costs and maintain security by reducing cloud sprawl.
Deployment Plan
This deployment plan is going to demonstrate:
The configuration of various ARM-based templates which you configure to manage your Azure resource deployments,
Deploying a storage account container as the centralized storage location for all your ARM templates,
Configuring your Power Automate workflow based on:
An email or Teams trigger activated by the requestor wanting to deploy an Azure resource,
The approval process whereby the approval group will receive the email and Teams message for approval | rejection,
Validating the request against an existing ARM template,
Deploying the Azure resource based on the pre-defined ARM template,
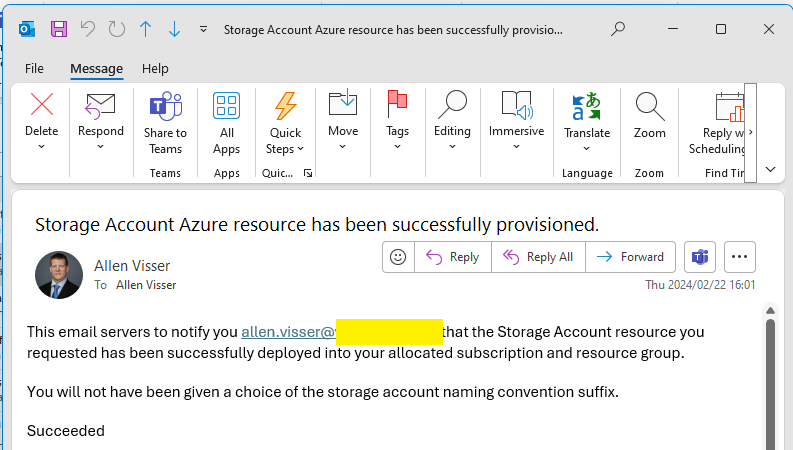
The requestor receiving a notification that the requested Azure resource has been successfully deployed,
Step 1 - ARM Template
Prepare your Azure resource ARM templates.
The quick start ARM templates can be found here.
Step 2 - Storage Account
Save the ARM template into a storage account container,
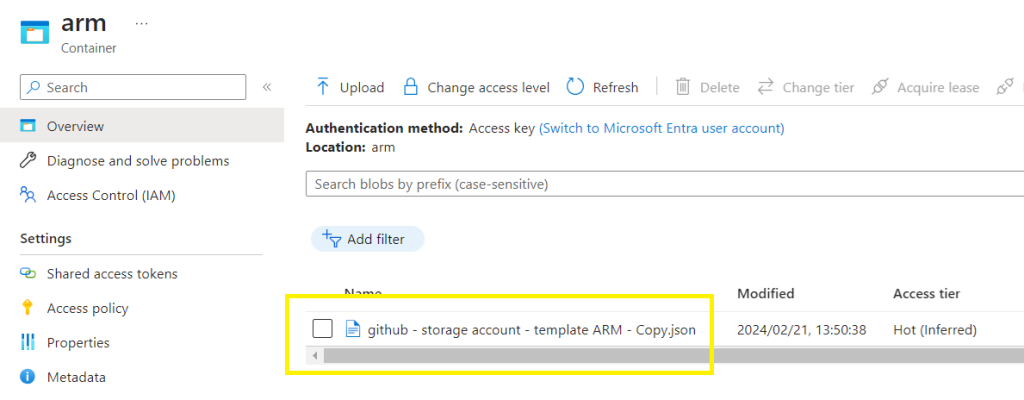
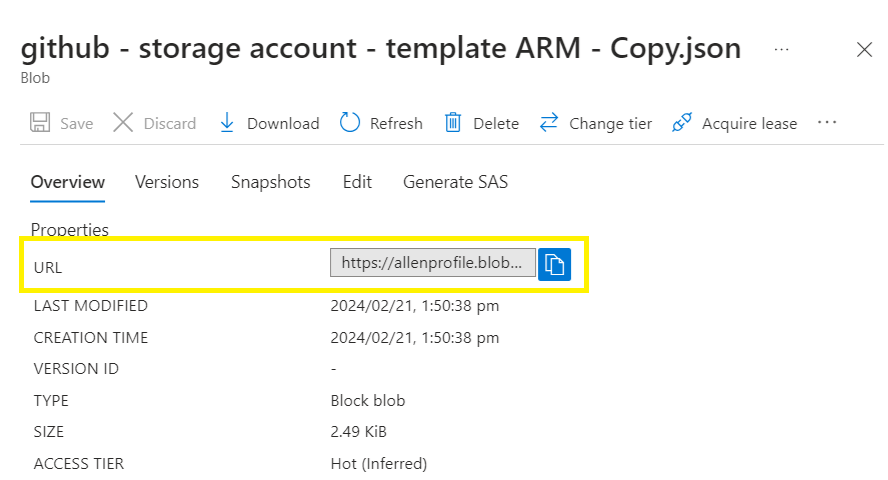
Copy the blob URL for use later in the Power Automate Flow
https://allenprofile.blob.core.windows.net/arm/github – storage account – template ARM – Copy.json
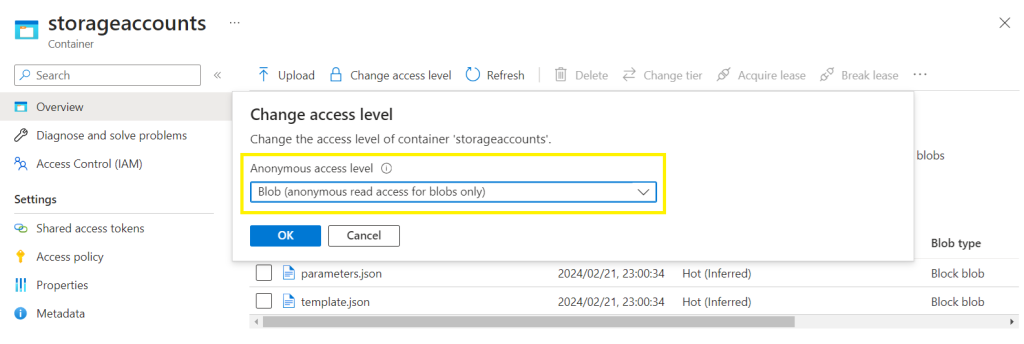
Change the access level on the container to Blob (anonymous read access for blobs only)
Step 3 - Power Automate
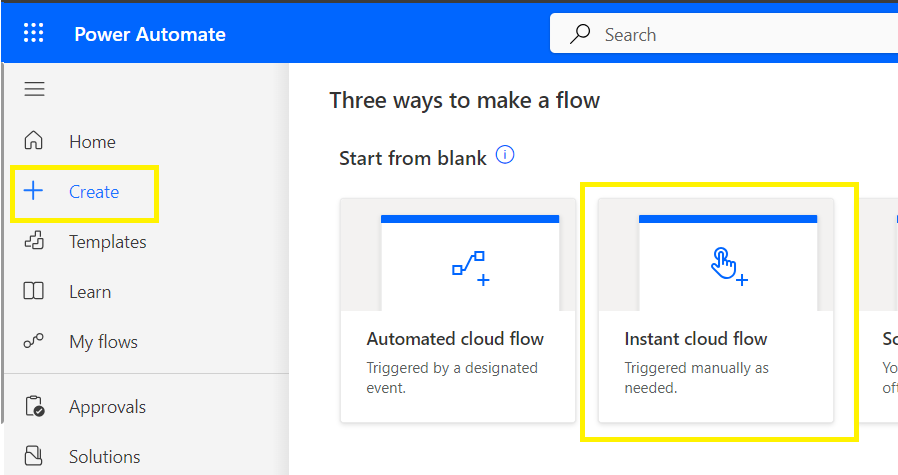
Open the Power Automate home page,
Select Create,
Select Instant cloud flow,
On the splash screen, click the Next button to build a blank Flow,
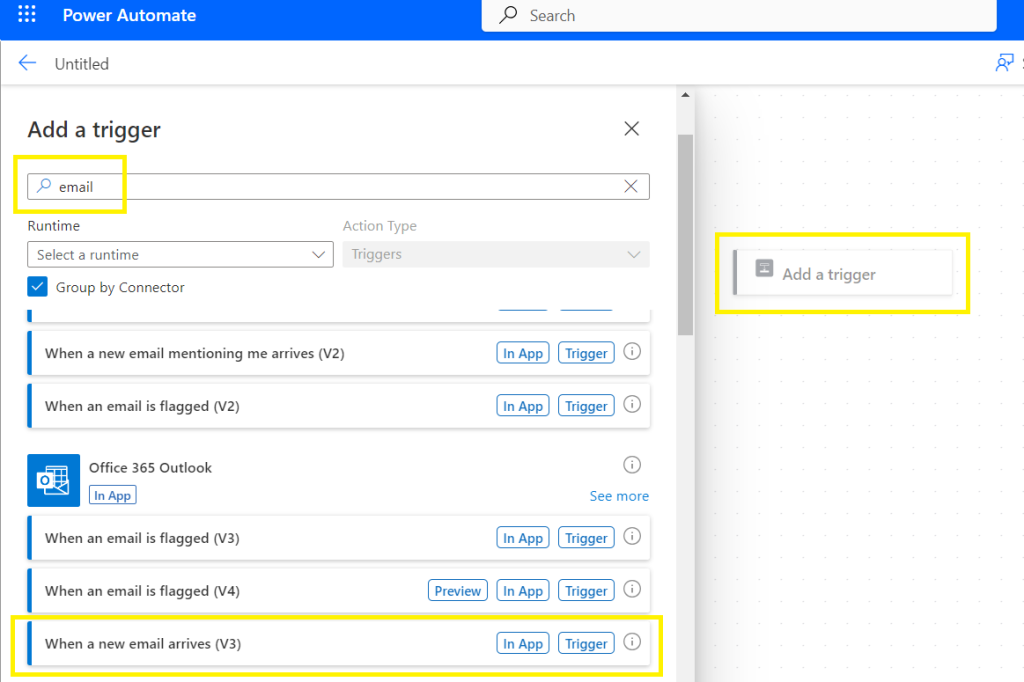
Select Add a trigger,
Search for “email”
Select When a new email arrives (v3) under Office 365 Outlook
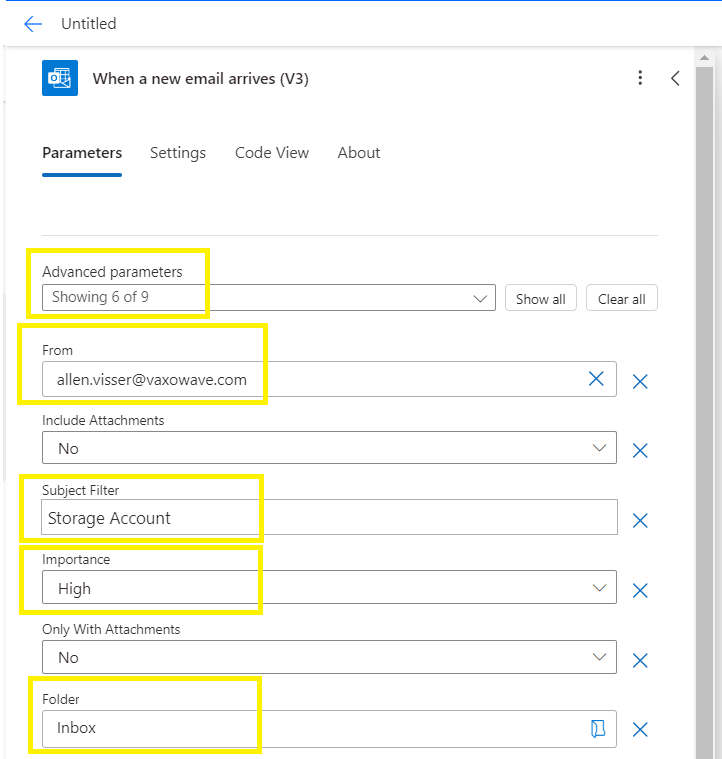
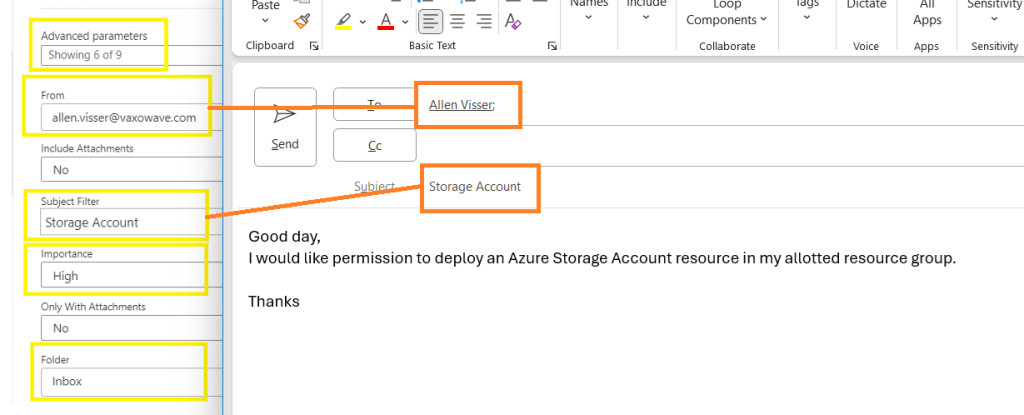
Under advanced parameters, select From and Subject Filter,
Populate the From field with an Azure deployment security group,
Add a Subject Filter,*
*this is the subject to be used by the requestor
(optional) assign importance,
Select which Folder into which all these email types will be delivered,
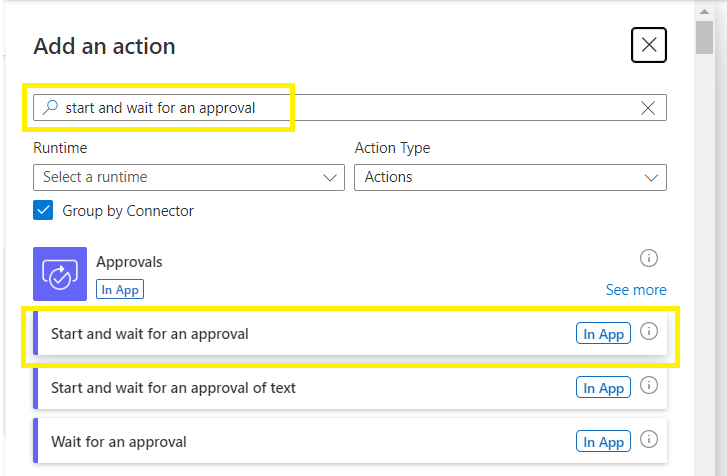
Add an action,
Let’s create the approval email process:
Search for and select “start and wait for an approval”
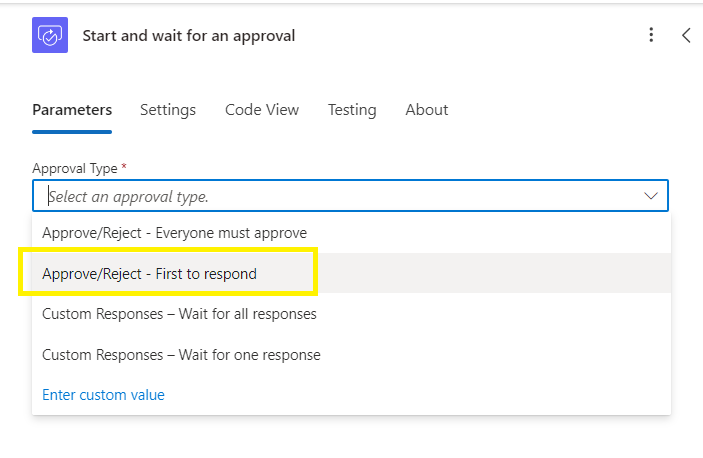
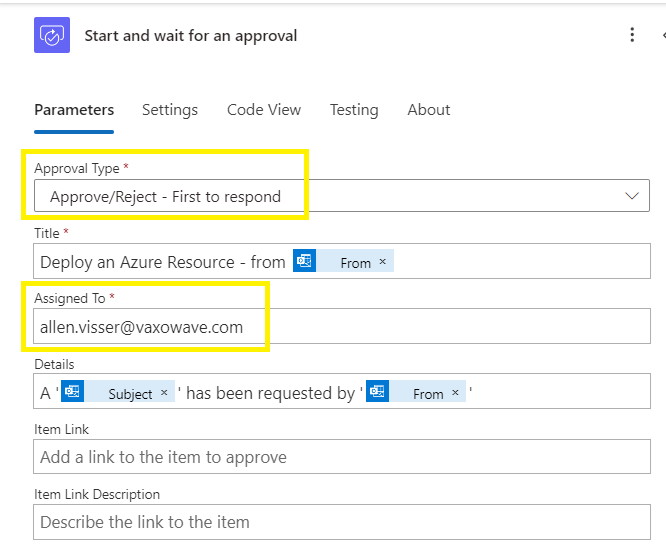
In the Start and wait for an approval window,
Select the Approve/Reject – First to respond
The Assigned To field is the approval distribution group
Add an action,
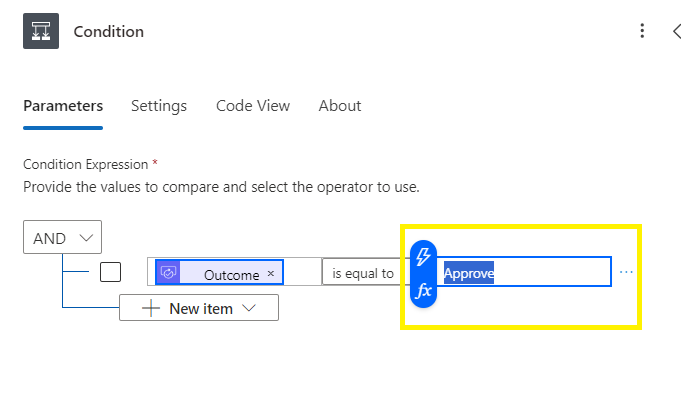
Search and select a Condition

In the condition, search dynamic content for outcome,
In the next section, type in Approve (case sensitive with trimming)
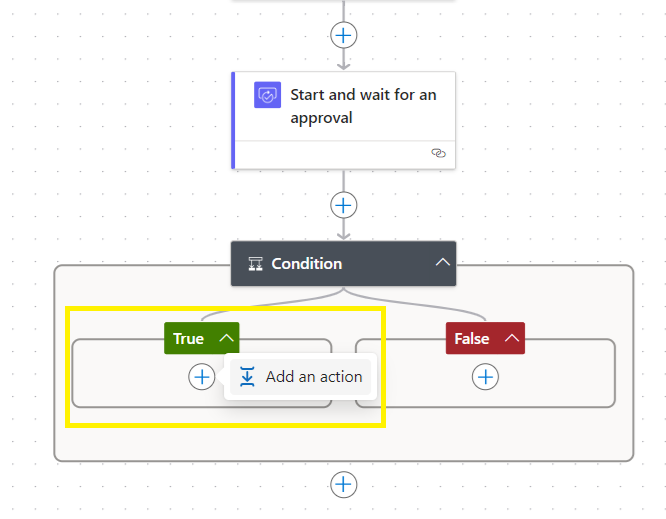
Go to True and select Add an action,
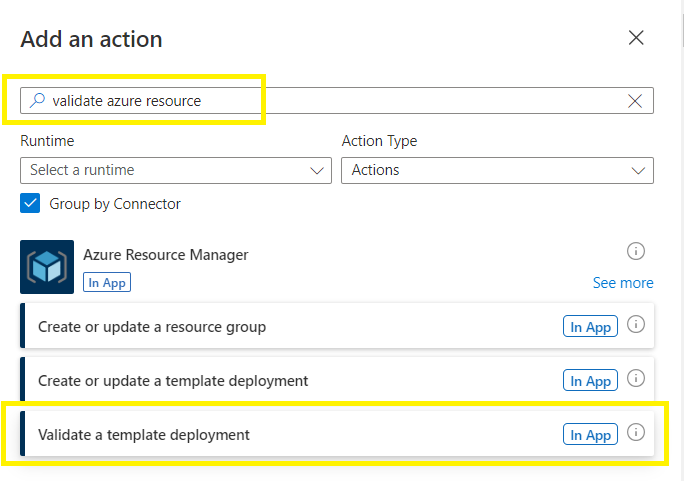
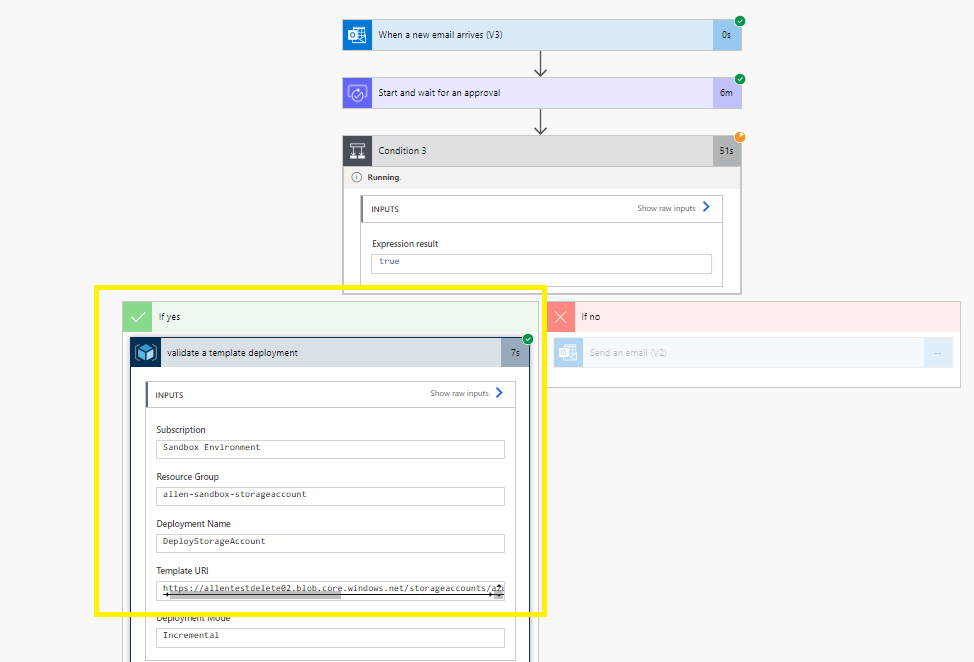
Search for validate azure resource
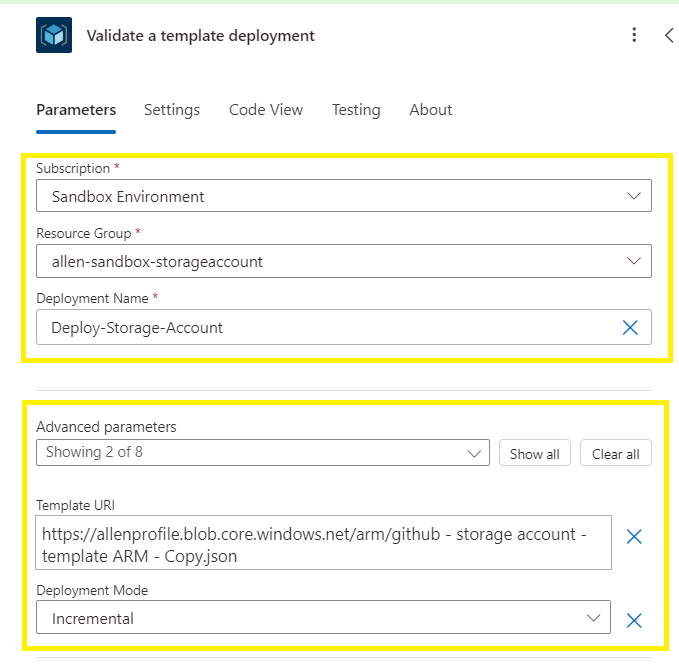
Select the validate a template deployment under Azure Resource Manager
Select the subscription and resource group,
Select a custom deployment name (make sure to trim the name), (you will use this name again when provisioning your Create or update a template deployment)
Add an advanced parameter value = Template URI
Template URI – paste the blob URL copied earlier
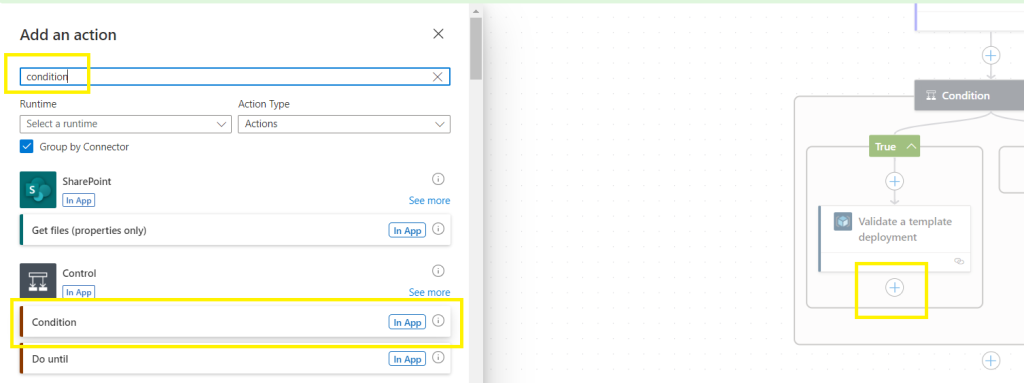
Add an action to the Validate a template deployment,
Add a condition,
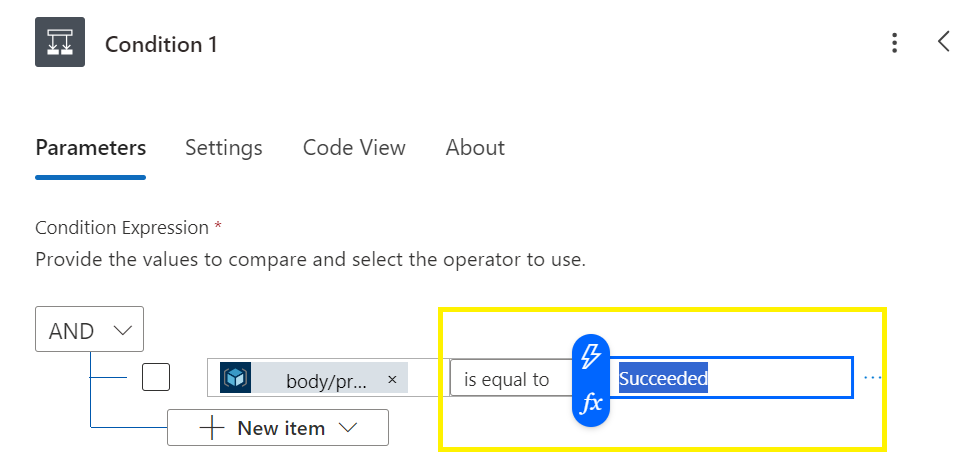
Search dynamic content for “provisioningstate”
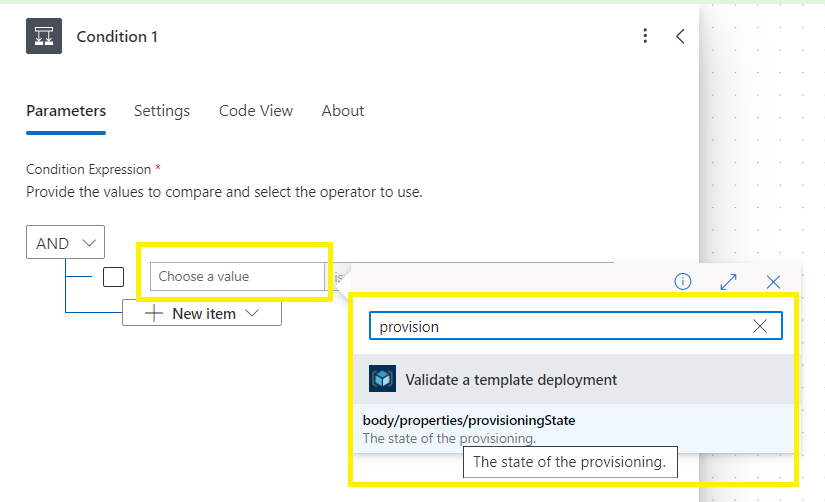
Select “is equal to” “Succeeded” (be aware of syntax and trim),
Add an action under True
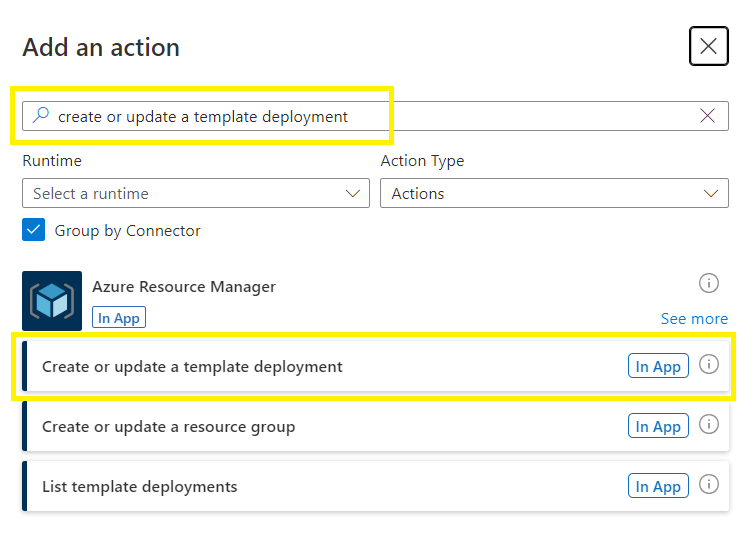
Do a search for and select “create or update a template deployment”
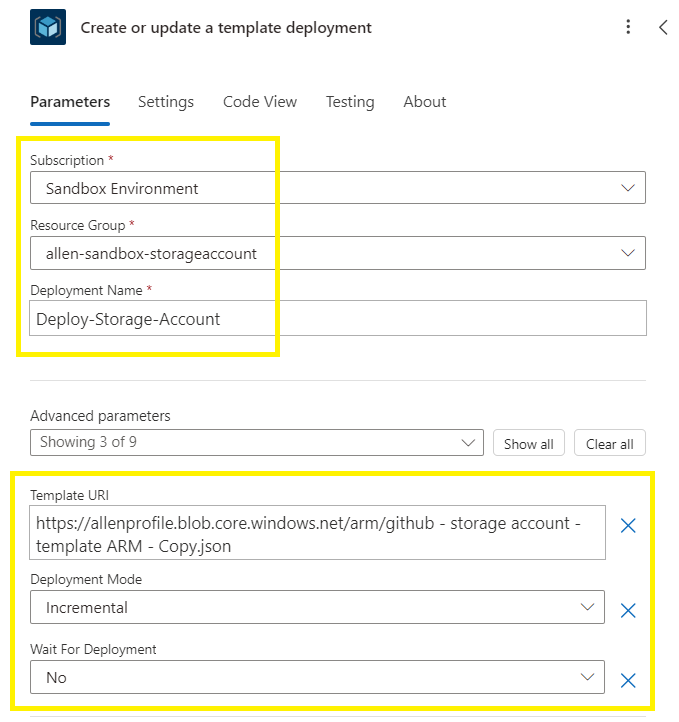
Update the following details:
Select the target subscription and resource group,
Specify the same deployment name used in your “Validate a template deployment”
Populate the URI with the same blob url,
Deployment mode – Incremental,
Wait for Deployment – No
Add an action,
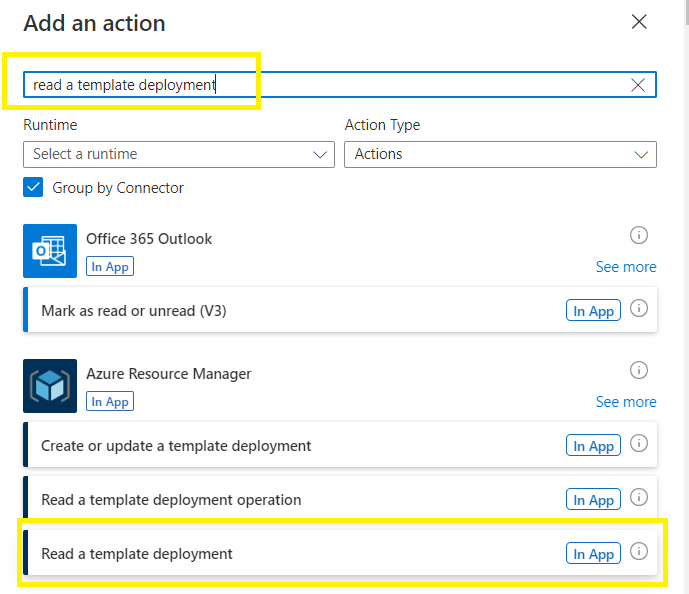
Do a search for “read a template deployment”
Select Read a template deployment,
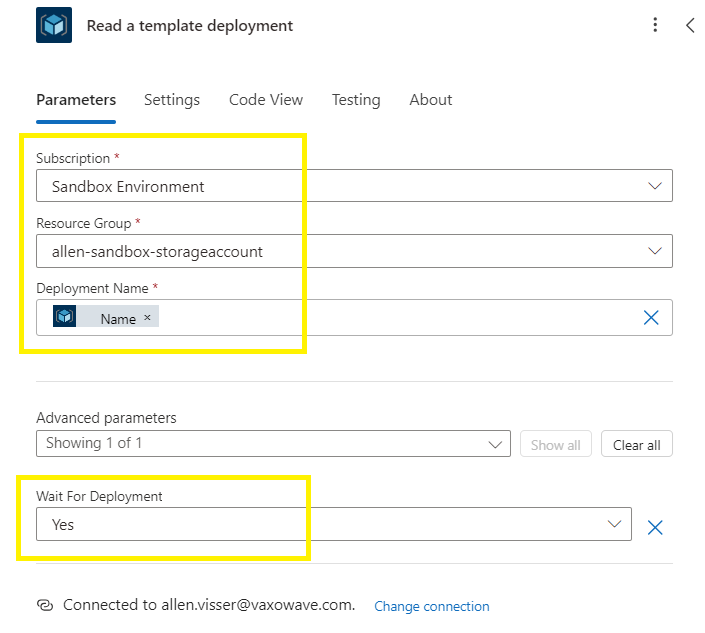
In the Read a template deployment,
Populate the subscription and resource group,
Deployment Name > add the dynamic content “Name”
Wait for deployment > Yes
Add an action under
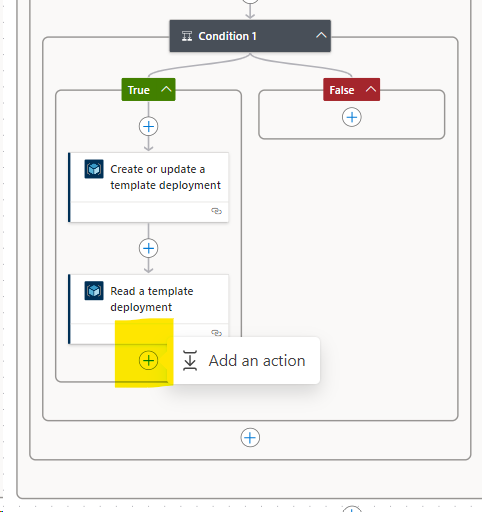
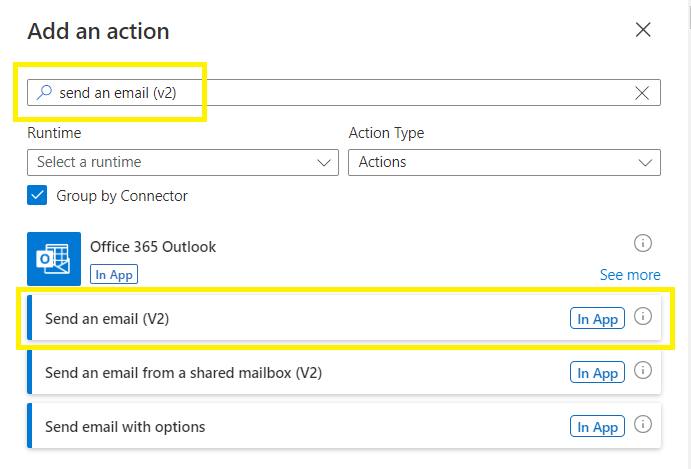
Search for “send an email (v2)”
Select Send an email (v2)
*This is the email that will be sent back to the original requester detailing the deployment.
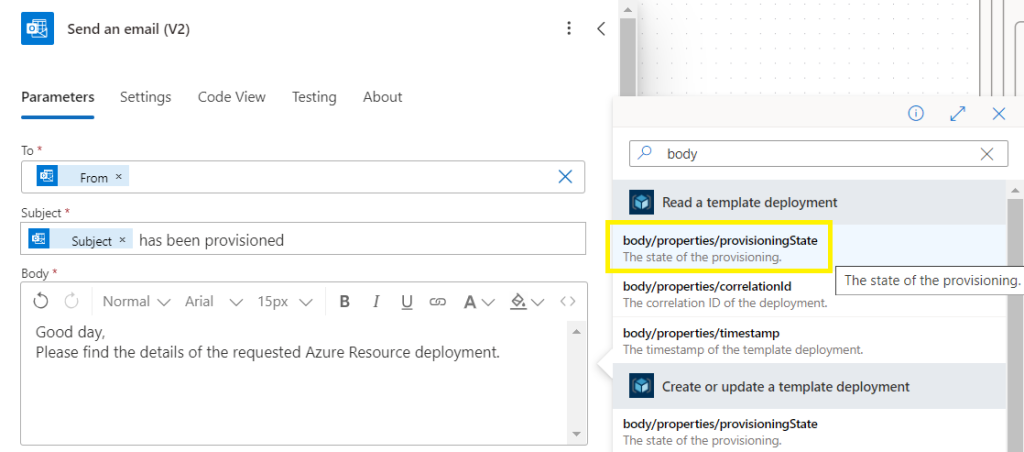
Populate To with the requestors email address,
Subject: populate with dynamic content “Subject”
Body: Create message and add dynamic content > search for “body” and under Read a template deployment,
Select body/properties/provisioningState
This completes the Flow build.
Save your Flow and create a backup copy.
Wait about 10 minutes for the Flow backend to provision before testing.
Testing
Flow
Go to your Flow name > Edit > select Test on your Flow,

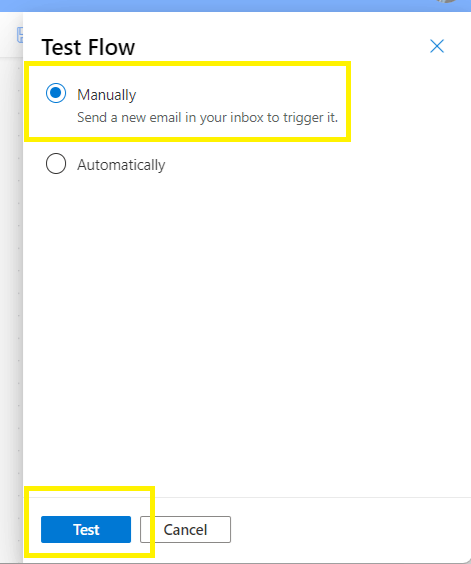
Test Flow
Select Manual > Test
Create and send a new email:
Addressed To the approver group,
With the exact same subject filter defined in the When a new email arrives (V3)
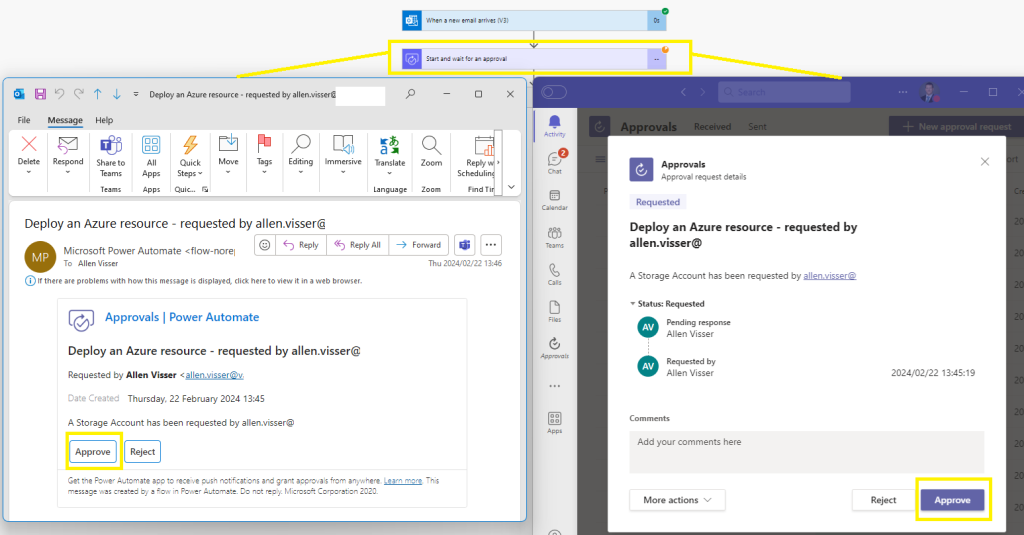
The requestor email will be delivered to the approvers group on 2 mediums:
Email distribution email address, upon which a reply Approve | Reject is required.
Complete the comments section,
Click on Submit,
Microsoft Teams:
Under your Teams Activity Feed you will receive a request Approvals with a Reject | Approve button
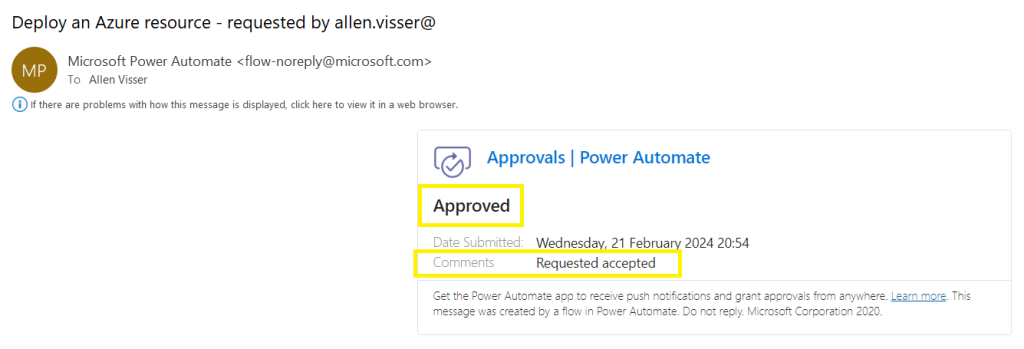
A reply email will be sent to the requester indicating whether the request has been approved or rejected,
Your ARM template will now be validated
The requested will receive an email verifying the successful Azure resource deployment
— I hope you found this blog useful in automating your resource deployments —